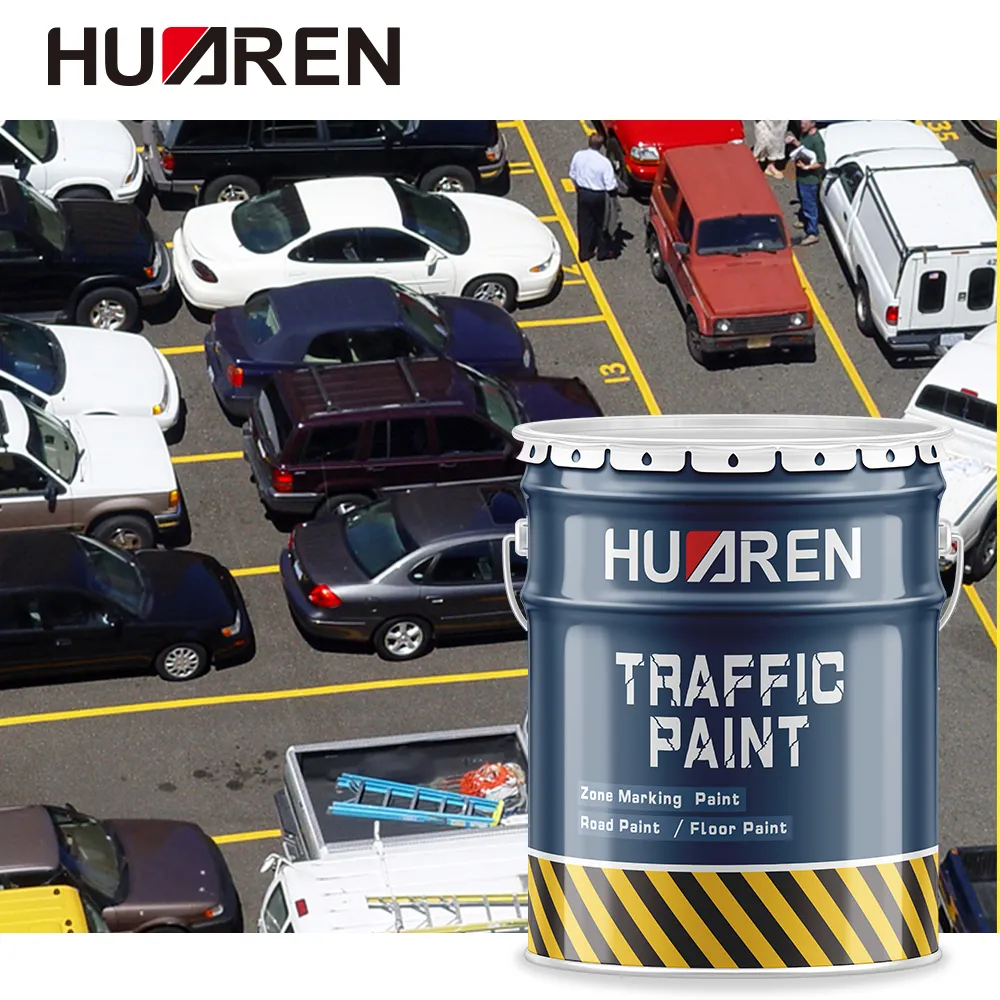
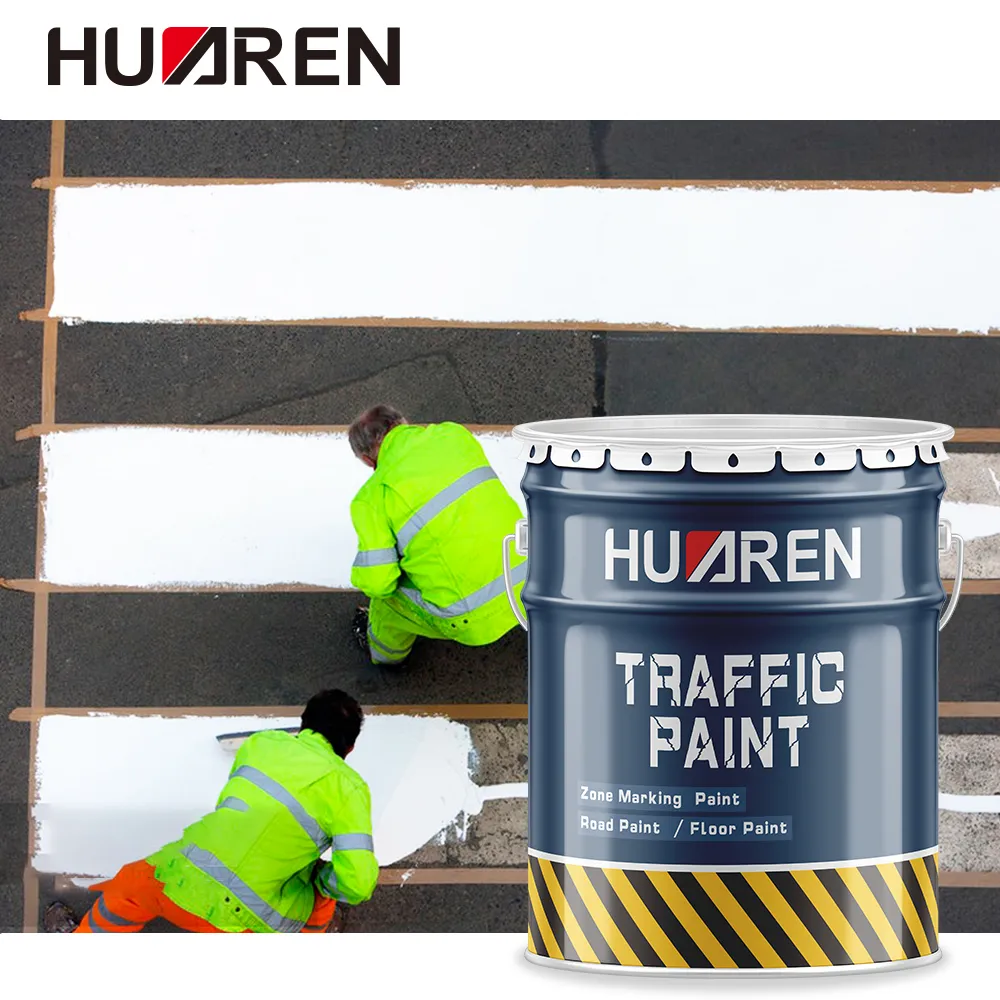
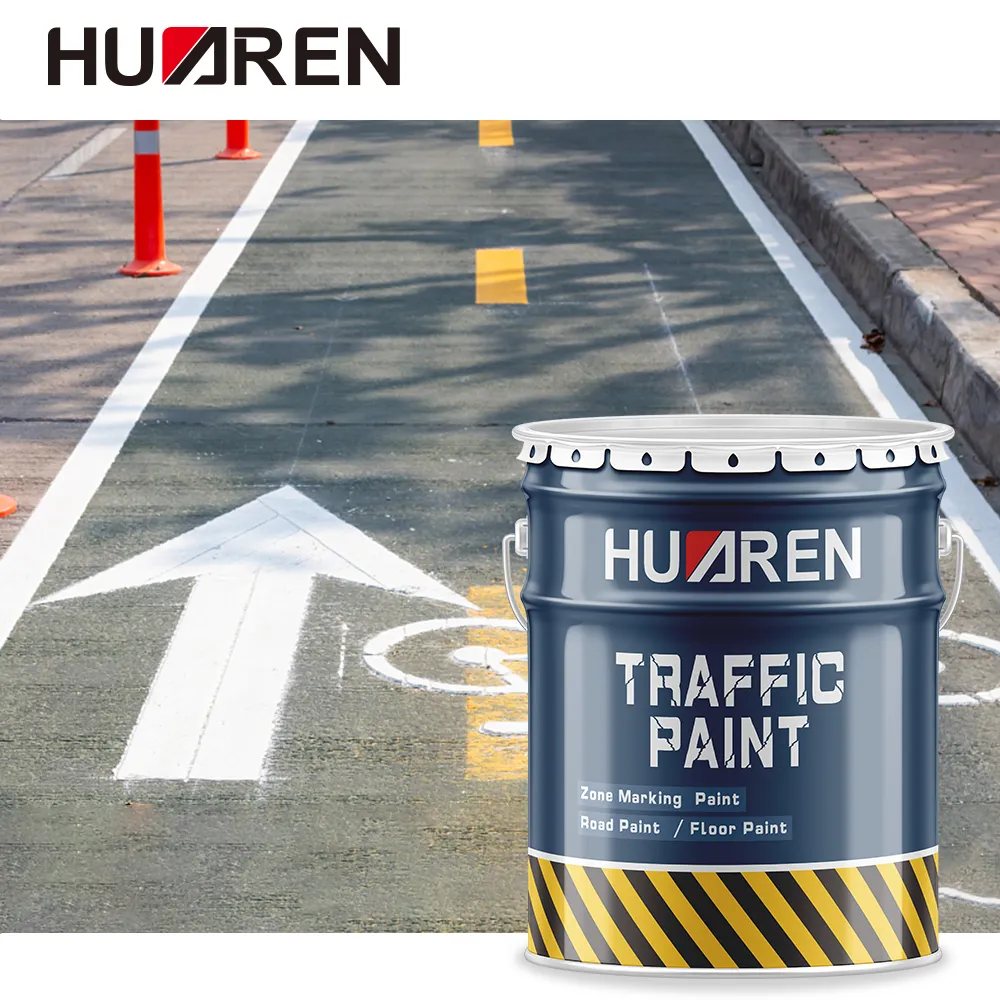
Striping paint plays an important role in traffic management and site demarcation. From parking lots and sports fields to city streets and highways, clear markings are essential for maintaining traffic order, ensuring safety and improving efficiency.
Applying striping paint may seem simple, but to achieve professional results, you need to follow the steps strictly. This article will detail the steps and precautions for applying striping paint to ensure the quality and durability of the markings.

What are the steps for applying striping paint?
The 8 steps for applying striping paint:
1. Planning and design,
2. Material and equipment preparation,
3. Cleaning and preparing the construction surface,
4. Laying out lines and marking,
5. Applying striping paint,
6. Drying and curing,
7. Cleaning and inspection,
8. Opening traffic.
1. Planning and design:
Steps:
1.1 Determine the position and size of the markings: Determine the position, length, width and color of the markings according to actual needs. For parking lots, the size and spacing of each parking space must be clear; for roads, the specific positions of lane lines, pedestrian crossings and other markings must be determined.
1.2 Draw design drawings: Draw detailed design drawings based on the measurement results, indicating the position and size of each marking to ensure that construction personnel can accurately execute.
Notes:
● Ensure that the design complies with local traffic regulations and standards.
● Consider the actual use and flow of the road or site during the design process to ensure the rationality and practicality of the markings.
2. Material and equipment preparation:
Steps:
2.1 Choose the right stripe paint: Choose the right type of stripe paint according to the construction environment, such as solvent-based, water-based or hot-melt stripe paint. Ensure that the stripe paint has good durability, reflectivity and anti-slip properties.
2.2 Prepare construction equipment: Including coating machines, spraying equipment, marking molds, rulers, tapes and other tools.
2.3 Cleaning equipment and tools: Ensure that all equipment and tools are clean and intact to avoid problems during construction.
Notes:
● Prepare enough stripe paint and equipment according to the construction area and the number of markings.
● Select coating equipment with stable performance and easy operation to improve construction efficiency and quality.
3. Clean and prepare the construction surface:
Steps:
3.1 Remove dirt and debris from the surface: Use a high-pressure water gun, broom or vacuum cleaner to clean the dust, oil and debris on the construction surface to ensure the surface is clean.
3.2 Repair road damage: For cracked and pothole-prone roads, repair and fill them first to ensure that the construction surface is flat.
3.3 Dry the surface: Ensure that the construction surface is dry to avoid poor adhesion during the construction of stripe paint.
Notes:
● Pay attention to environmental protection during the cleaning process and do not discharge waste at will.
● Ensure that the road surface is completely dry before construction on slippery or rainy days.

4. Laying out and marking:
Steps:
4.1 Laying out: According to the design drawings, use a ruler and chalk to lay out the lines on the construction surface and mark the position and size of the marking lines.
4.2 Setting up the marking line mold or tape: According to the results of the laying out, set up the marking line mold or apply the tape to ensure that the edges of the marking lines are neat.
Precautions:
● Be careful and accurate during the laying out process to avoid deviations.
● Use high-quality tape or mold to ensure that the edges of the marking lines are neat and burr-free.
5. Applying stripe paint:
Steps:
5.1 Stirring the stripe paint: Stir the stripe paint thoroughly before use to ensure that the pigment and solvent are evenly mixed.
5.2 Adjust the coating equipment: According to the type of stripe paint and construction requirements, adjust the pressure, nozzle and speed of the coating equipment.
5.3 Start coating: Starting from one end, apply the stripe paint along the laying out and mold, maintaining a uniform speed and pressure to ensure uniform coating thickness.
5.4 Repeat coating: For stripe paints that require multiple layers of coating, wait for the first layer to dry before applying the second layer.
Notes:
● Keep the equipment stable during coating to avoid problems such as missed spraying or uneven coating.
● Avoid construction under high temperature or strong wind conditions to avoid affecting the coating effect.
6. Drying and curing:
Steps:
6.1 Waiting for drying: After coating, wait for the stripe paint to dry naturally. Depending on the type of stripe paint and climatic conditions, the drying time is generally between 30 minutes and 2 hours.
6.2 Curing treatment: For stripe paints that require curing treatment, such as hot melt paint, use heating equipment for curing to ensure the hardness and durability of the coating.
Notes:
● During the drying and curing process, set up warning signs to prevent vehicles and pedestrians from passing through to avoid damaging the undried markings.
● According to the instructions of the stripe paint, strictly control the drying and curing time to ensure the performance of the coating.
7. Cleaning and inspection:
Steps:
7.1 Cleaning the construction site: After the coating is completed and dried, clean the construction site, remove the tape, molds and tools, and ensure that the site is clean.
7.2 Check the quality of the marking: Check the width, length, color and reflective effect of the marking to ensure that it meets the design requirements and quality standards.
Notes:
● Avoid damaging the dried markings during the cleaning process.
● Record the inspection results in detail, and repair and adjust the unqualified markings in time.
8. Open to traffic:
Steps:
8.1 Set up warning signs: After the markings are completely dry and cured, remove the warning signs and open to traffic.
8.2 Notify relevant departments: Notify the relevant traffic management departments of the completion of the construction to ensure that the markings are put into use.
Notes:
● Ensure that the markings are completely dry and cured before opening to traffic to avoid affecting the quality of the markings.
● Before opening to traffic, finally confirm the clarity and visibility of the markings.

Huaren Chemical Industry Co., Ltd., a prominent factory based in China, stands out as a top-tier supplier of industrial paints and coatings. Since 1994, we have been committed to innovation and excellence, producing over 20,000 tons of coatings annually. Our diverse product range includes water-based coatings, chlorinated rubber paints, phenolic coatings, and epoxy floor paints, suitable for applications in industries like petrochemicals, shipbuilding, and construction. We offer competitive prices, bulk purchasing options, and flexible customizations to meet diverse industrial needs. If you are looking for reliable suppliers offering promotional discounts and low prices, Huaren Chemical is your go-to manufacturer. Contact us today to learn more about our products and services!

